


Introduction
Have you noticed how many people are switching to plant-based diets and looking for non-dairy milk alternatives? It’s pretty cool that more folks are thinking about the impact animal farming has on the environment and considering the health benefits of eating more plants. One popular dairy milk substitute is nut milk, which is made by blending nuts with water and filtering out the solids. Like regular milk, you can use nut milk in your coffee, tea, smoothies, and baked goods.
You can buy nut milk at the grocery store, but it’s also super easy and affordable to make your own at home. Plus, when you DIY it, you can control what ingredients you use and avoid any weird additives or preservatives that might be in store-bought versions. Making nut milk from scratch can also be a fun and satisfying project that helps you feel more connected to your food and reduces your environmental impact. So, let’s get started! We’ve got a step-by-step guide on how to make your own nut milk right at home.
Choosing Your Nut
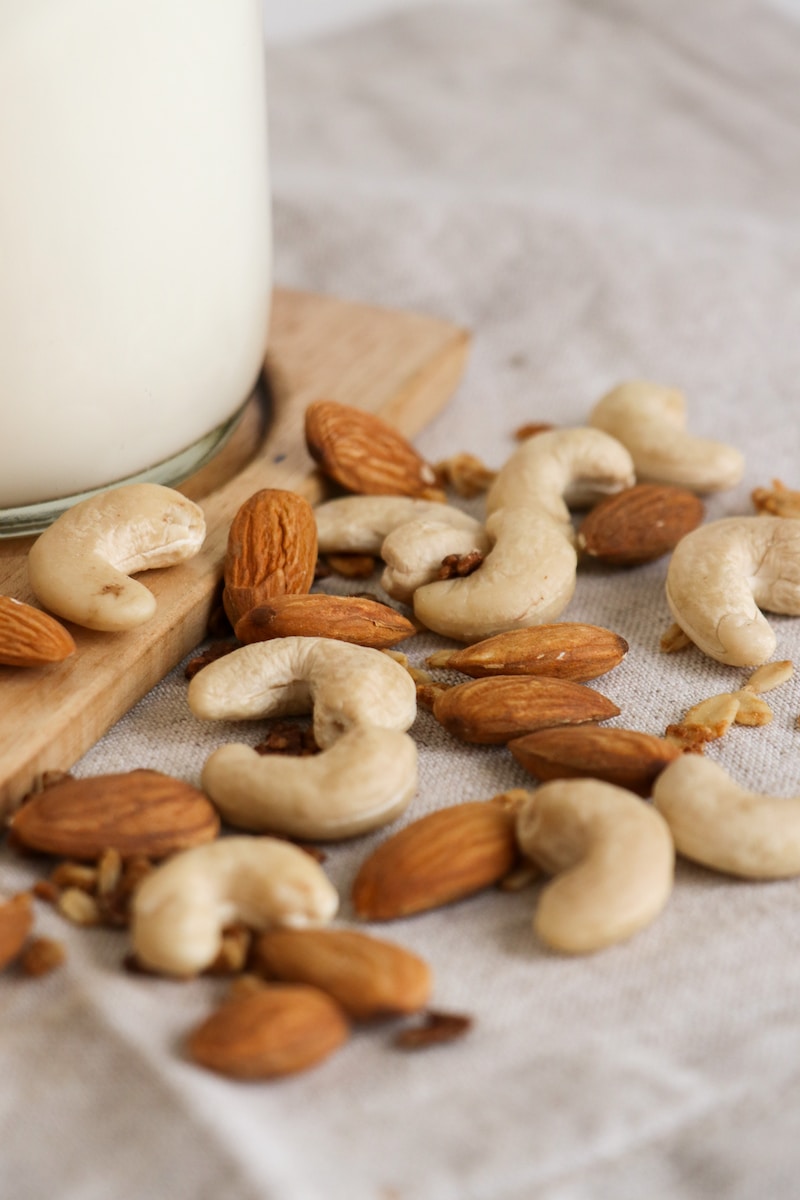
If you’re thinking of making your own nut milk at home, I’ve got some tips for you. Choosing the right nut can really affect the taste and texture of your final product. Some popular choices are almonds, cashews, and hazelnuts.
Almonds are a safe bet because they have a mild, slightly sweet flavor and a creamy texture. They’re great for all kinds of recipes, but keep in mind that almond milk might be thinner than regular dairy milk. If you want a creamier texture, you might need to use more nuts.
Cashews are another popular choice because they have a rich, buttery flavor and a creamy texture. This makes them perfect for creating thicker, creamier nut milk. Plus, cashew milk tends to be a bit sweeter than almond milk, so it’s great for both sweet and savory dishes.
Finally, hazelnuts are a bit of a wild card. They have a unique, nutty flavor that can really add something special to your nut milk. They’re not as common as almonds or cashews, but they’re definitely worth a try if you want to mix things up!
Soaking and Blending
Soaking and blending are two important steps when it comes to making nut milk at home. Here’s what you need to know about each step:
Soaking:
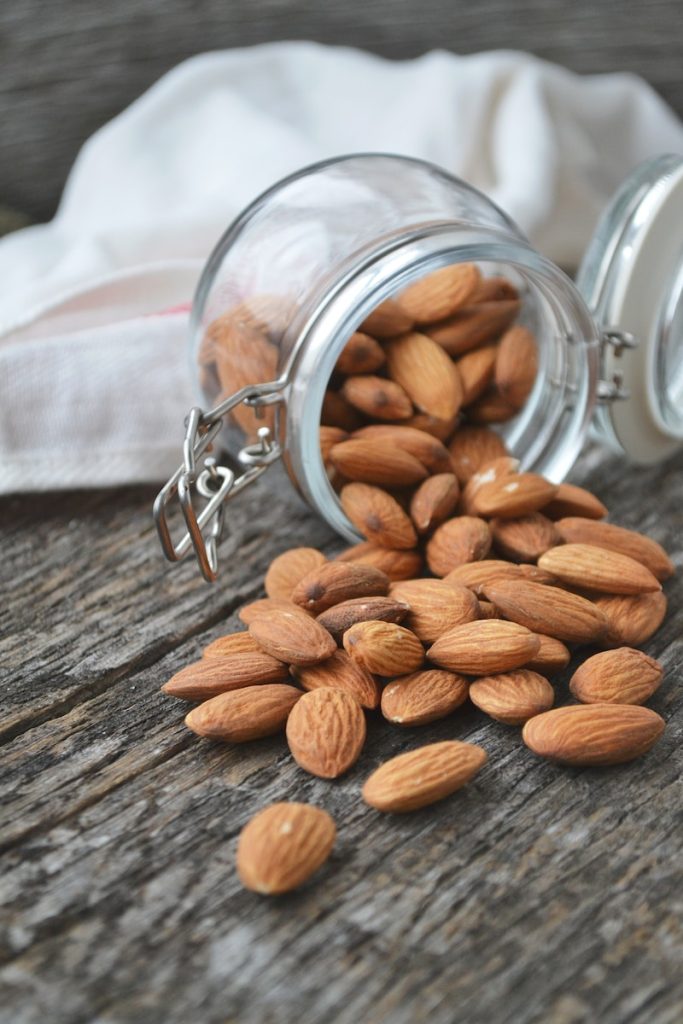
Soaking your nuts before blending them into milk is an important step for a few reasons. First, it helps soften the nuts and make them easier to blend, leading to smoother, creamier nut milk. Additionally, soaking can help to remove any bitterness or tannins from the nuts, which can affect the flavor of the final product.
To soak nuts for nut milk, follow these steps:
- Place your nuts in a large bowl or container.
- Cover the nuts with water, making sure they are completely submerged.
- Add a pinch of salt to the water to help neutralize any enzyme inhibitors.
- Let the nuts soak for at least 4 hours or overnight.
- Drain and rinse the nuts before using them to make nut milk.
Blending:
Blending is the next step in making nut milk, and it’s where you’ll actually turn your soaked nuts into a creamy, milk-like liquid. Here are some tips for getting smooth and creamy nut milk:
- Use a high-speed blender. A powerful blender will help to break down the nuts more thoroughly, resulting in smoother, creamier milk.
- Strain your milk through a nut milk bag or cheesecloth. This will help to remove any remaining solids and create a smoother texture.
- Sweeten or flavor your nut milk as desired. You can add sweeteners like dates, maple syrup, or honey, as well as flavors like vanilla extract, cocoa powder, or cinnamon, to customize your nut milk to your preferences
- Store your nut milk in a sealed container in the refrigerator for up to 5 days.
By soaking your nuts and blending them properly, you can create delicious, homemade nut milk that is perfect for a variety of recipes and dietary preferences.
Sweetening and Flavors
Making nut milk at home allows for flavor customization to suit individual preferences. Natural sweeteners and flavors can be added to enhance the taste of your nut milk. Below are some ideas to consider:
Natural Sweeteners:
- Dates: Dates are a great natural sweetener for nut milk. They have a caramel-like flavor that pairs well with nuts and can help to create creamy, sweet milk. To use dates as a sweetener, simply soak them with your nuts and blend them together.
- Maple syrup: Maple syrup is another natural sweetener that works well in nut milk. It has a rich, sweet flavor and can add a touch of sweetness to your milk without overpowering the nut flavor. After blending, add maple syrup to your nut milk and adjust the amount to your liking.
- Honey: Honey is another natural sweetener that can be used to sweeten nut milk. It has a distinct flavor that can complement the nut flavor and add a touch of sweetness. Like maple syrup, you can add honey to your nut milk after blending and adjust the amount to your liking.
Flavors:
- Vanilla extract: Vanilla extract is a great way to add a subtle, sweet flavor to your nut milk. Simply add a small amount of vanilla extract to your blended nut milk and mix well.
- Cinnamon: Cinnamon is another great flavor to add to nut milk. It has a warm, comforting flavor that can add depth to your milk. You can add cinnamon to your blended nut milk and adjust the amount to your liking.
- Cocoa powder: Add cocoa powder to your blended nut milk for a chocolatey twist on nut milk. This can create delicious, creamy chocolate milk that’s perfect for a sweet treat.
If you play around with different sweeteners and flavors, you can make your own nut milk that’s totally unique and delicious. It’ll be just right for your taste buds!
Storage and Use
So, you made your own nut milk, huh? That’s awesome! Now, to make sure it stays yummy and fresh, you’ll want to store it the right way. Here are some tips that might help:
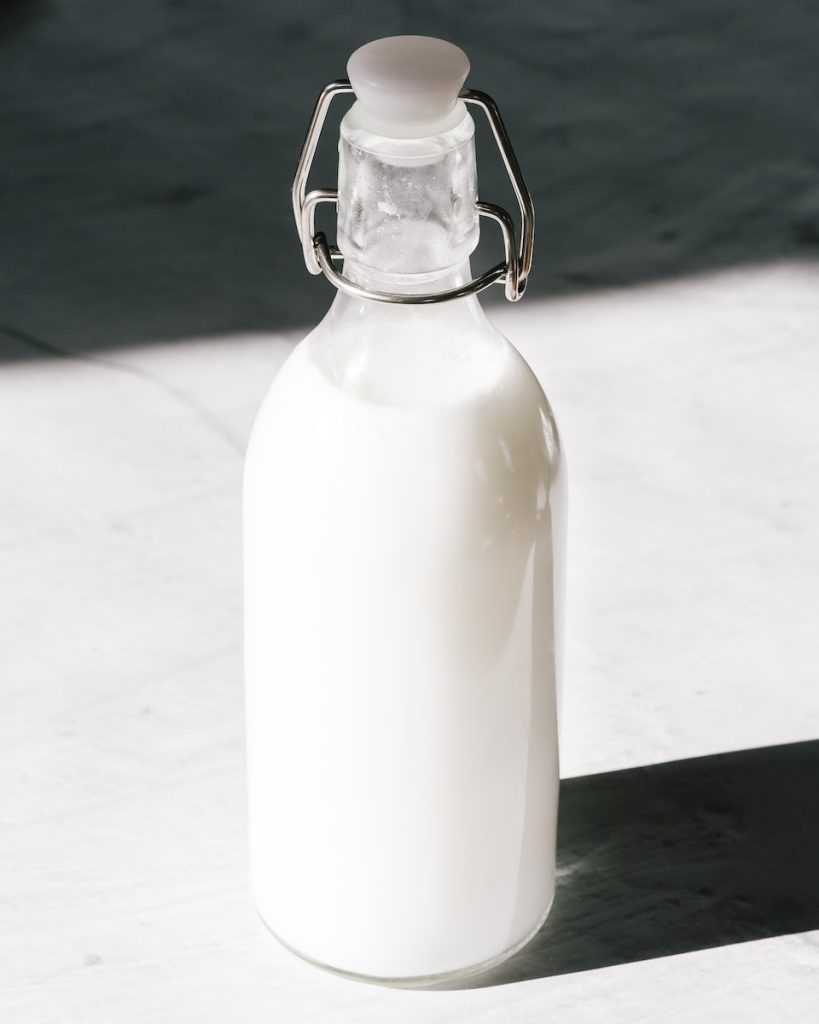
- Store your nut milk in a sealed container in the refrigerator. Nut milk will keep for up to 5 days in the refrigerator, but it’s best to consume it within the first 2-3 days for optimal freshness.
- Shake your nut milk before using it. Nut milk can separate in the refrigerator, so give it a good shake before using it to ensure the consistency is even.
- Use a glass container to store your nut milk. Glass containers are the best option for storing nut milk, as they won’t affect the flavor or quality of the milk.
Once you make your own nut milk, you might end up with some extra pulp. But don’t worry. There are plenty of ways to use it up! Here are some ideas:
- Adding it to smoothies for an extra boost of fiber and nutrition.
- Using it as a base for homemade nut butter. Simply mix the pulp with a bit of oil and blend until smooth.
- Add it to baked goods like muffins or bread for texture and nutrition.
- Using it as a topping for oatmeal or yogurt bowls.
Using the leftover pulp from your nut milk can reduce food waste and get even more use out of your homemade nut milk.
Conclusion
Making your own nut milk at home is a simple and rewarding process that allows you to customize the flavor to your liking. Here’s a quick summary of the steps involved:
- Choose your nut and soak it in water overnight.
- Drain and rinse the nuts, then blend them with fresh water.
- Strain the nut milk through a nut milk bag or cheesecloth.
- Sweeten and flavor the nut milk to your liking.
- Store the nut milk in a sealed container in the refrigerator for up to 5 days.
Making your own nut milk is a great way to avoid all those added sugars and preservatives you find in store-bought versions. Plus, you can mix and match different nuts and flavors to create your own special blend. Trust me; it’s super easy and fun–just give it a shot! Your taste buds (and your health) will thank you.


