Quilting for Creativity
Quilting is an age-old craft that generations of people have enjoyed. Whether you’re looking to create a cozy quilt to curl up under on a cold winter’s night or you want to explore your creativity through the art of quilting, there’s no denying that this craft can be a fulfilling and enjoyable hobby.
In this blog post, we’ll explore the quilting world and offer some tips and tricks to help you create your first quilt. Whether you’re a complete beginner or have some experience with sewing and crafting, we hope this post will provide you with the inspiration and guidance you need to start quilting and unleash your creativity.
We’ll cover everything from selecting fabrics and patterns to cutting and piecing together your quilt top and tips for quilting and finishing your project. By the end of this post, you’ll have the knowledge and confidence to create a beautiful quilt that you’ll be proud to display or give as a gift to someone special.
So grab your sewing machine, and let’s dive into the world of quilting for creativity!
Supplies Needed

Before you can start quilting, you’ll need to gather some basic supplies. Here’s a list of the essential items you’ll need to create your first quilt:
- Fabric: Choose fabrics that you love and that complement each other. You can buy pre-cut fabric squares or yardage to cut into your desired sizes.
- Batting: This material goes in the middle of your quilt sandwich to provide warmth and insulation.
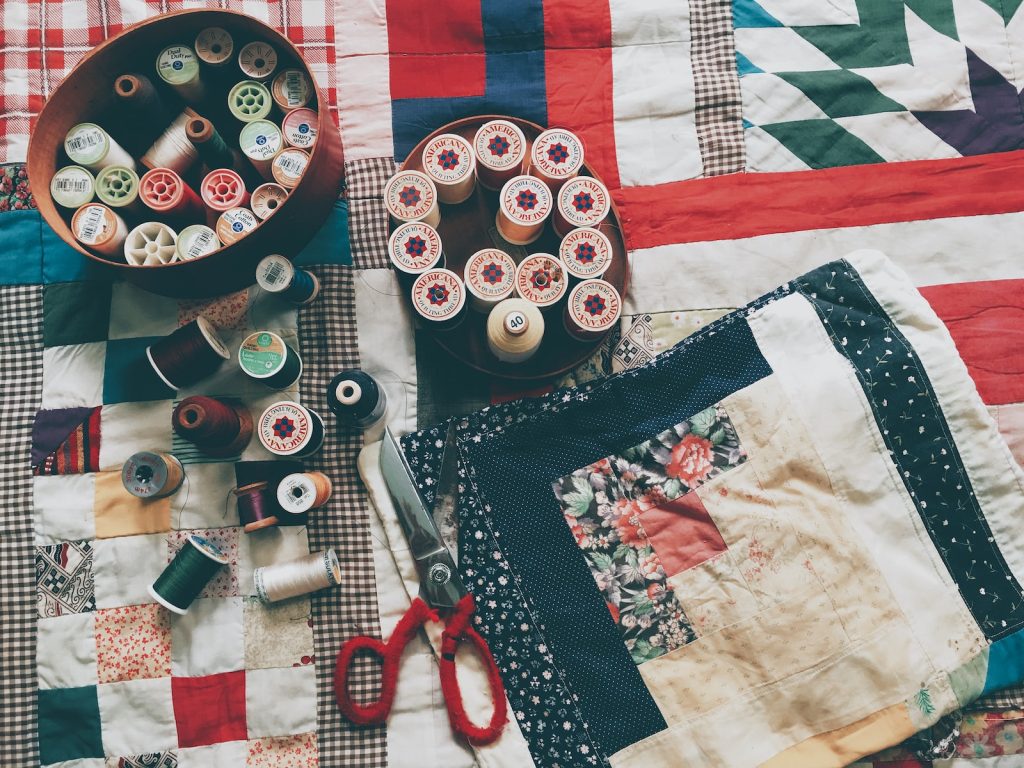
- Thread: Choose a high-quality thread that will withstand a quilt’s wear and tear.
- Scissors: Invest in a good pair of fabric scissors that are sharp and comfortable to hold.
- Rotary cutter and mat: A rotary cutter and mat will make cutting fabric squares quick and easy.
- Quilting ruler: A quilting ruler will help you measure and cut fabric accurately.
- Pins: Use quilting pins to hold your fabric pieces together as you sew.
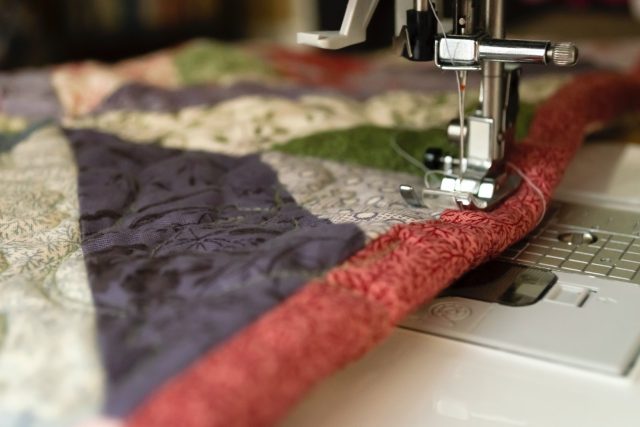
- Sewing machine: You’ll need a reliable sewing machine to assemble your quilt pieces.
- Iron and ironing board: Pressing your fabric as you sew will help ensure that your quilt top lays flat.
- Quilting gloves: These are optional but can help keep your quilt sandwich smooth and prevent slipping while quilting.
Once you have these basic supplies, you’ll be ready to start your quilting project. Of course, as you become more experienced, you may find that you need additional tools and supplies to enhance your quilting skills, but these basics will be sufficient to get you started.
Design Considerations
Design considerations are an important aspect of quilting, as they can greatly impact your quilt’s overall look and feel. Here are some design considerations to keep in mind as you plan your quilt:
- Color: Choose colors that complement each other and create your quilt’s desired mood or theme. You may want to use a color wheel or consult a color chart to help you select a cohesive color scheme.
- Pattern: There are countless quilt patterns to choose from, ranging from simple designs to intricate and complex patterns. Consider the skill level required for your chosen pattern and whether it will showcase your selected fabrics.
- Scale: The scale of your fabric prints can impact the overall look of your quilt. If you’re using multiple fabrics with different scales, ensure they work together harmoniously.
- Contrast: Consider how much contrast you want in your quilt. Using high-contrast fabrics can create a bold and dynamic look, while low-contrast fabrics can create a more subtle and calming effect.
- Layout: The arrangement of your fabric pieces can greatly impact the look of your quilt. Consider experimenting with different layout options to find the one that works best for your design.
- Borders: Borders can be added to the edges of your quilt to frame it and add a finishing touch. Consider the width and color of the borders you choose.
By considering these design elements, you can create a quilt that is not only beautiful but also meaningful and unique to you. Don’t be afraid to experiment with different fabrics, patterns, and layouts until you find the design that truly speaks to your creative vision.
Cutting and Piecing the Quilt
Cutting and piecing are the foundation of any quilt. Here’s a step-by-step guide to cutting and piecing your quilt:
- Cut your fabric: Cut your fabric into the desired size and shape using a rotary cutter and mat. Make sure to measure and cut accurately, as this will impact the final look of your quilt.
- Arrange your pieces: Lay out your fabric pieces in the desired order and arrangement. This will help you visualize how your quilt will look once it’s pieced together.
- Sew your pieces: Using a sewing machine and thread, sew your fabric pieces together. Make sure to sew with a consistent seam allowance and press your seams flat as you go.
- Join your rows: Once you’ve sewn your fabric pieces together in rows, join your rows together. Align your seams carefully and pin your pieces together to ensure a precise match.
- Add borders: If desired, add borders to the edges of your quilt. Measure and cut your borders carefully to ensure they fit the size of your quilt top.
- Sandwich your quilt: Layer your quilt top, batting, and backing fabric together to create a quilt sandwich. Pin or baste your layers together to keep them in place.
- Quilt your layers: Quilting is the process of stitching through all three layers of your quilt sandwich to hold them together. You can do this by hand or with a sewing machine.
- Bind your quilt: Binding is the process of adding a fabric border around the edges of your quilt to finish it off. Cut your binding fabric into strips, sew them together, and attach them to the edges of your quilt.
By following these steps, you can create a beautiful and unique quilt that reflects your own creativity and style. Remember to take your time, measure carefully, and enjoy the process of creating something beautiful with your own two hands.
Basting and Quilting the Layer
Basting and quilting the layers of your quilt sandwich is an important step in completing your quilt. Here’s a step-by-step guide to basting and quilting your quilt layers:
- Prepare your backing fabric: Cut your backing fabric to be a few inches larger than your quilt top on all sides. Press it to remove any wrinkles.
- Layer your quilt sandwich: Lay your backing fabric, batting, and quilt top on top of each other in that order. Smooth out each layer to remove any wrinkles or bubbles.
- Baste the layers together: Basting is the process of temporarily holding the layers of your quilt sandwich together. You can baste with pins or thread. If using pins, place them about 4-6 inches apart. If using thread, use a large basting stitch to hold the layers together.
- Choose your quilting design: There are many quilting designs to choose from, ranging from simple to intricate. You can choose to quilt in the ditch (along the seam lines) or choose a more decorative design.
- Quilt your layers together: Using a sewing machine or by hand, use the chosen design. Make sure to quilt through all three layers of the quilt sandwich.
- Trim excess batting and backing: Once you have finished quilting, trim any excess batting and backing fabric from the edges of your quilt.
- Bind your quilt: Binding is the process of finishing the edges of your quilt. Cut your binding fabric into strips, sew them together, and attach them to the edges of your quilt.
Basting and quilting can be time-consuming, but achieving a beautiful finished product is worth it. Remember to take your time and enjoy the process. With practice and patience, you can create a stunning and unique quilt that you’ll be proud to display and use for years to come.
Finishing Touches
Finishing touches can elevate your quilt from a simple project to a work of art. Here are some ways to add those final details to your quilt:
- Add embellishments: Add embellishments such as buttons, beads, or appliques to add texture and visual interest to your quilt.
- Label your quilt: Adding a label to your quilt is a great way to document the date, your name, and the story behind your quilt. You can use a fabric pen to write directly on your quilt or create a separate label to sew onto the back.
- Wash and block your quilt: After quilting, washing and blocking your quilt is a good idea to give it a finished look. Follow the washing instructions for your fabric, and block your quilt by stretching it into the desired shape and size and allowing it to air dry.
- Display your quilt: Whether you hang your quilt on a wall, drape it over a chair, or use it as a bedspread, displaying your quilt is a great way to show off your hard work and creativity.
- Share your quilt: Consider sharing your quilt with others by entering it in a quilt show, donating it to a charity, or giving it as a gift to someone special.
Finishing touches are an important part of the quilting process that can add personality and style to your quilt. Experiment with different techniques and materials to create a quilt that is uniquely your own. And most importantly, have fun and enjoy the process of creating something beautiful with your own two hands.
Conclusion: Unlocking Creativity with Quilting
Quilting is a wonderful way to unlock your creativity and express yourself through fabric and thread. From choosing fabrics and designing your quilt to piecing and quilting the layers together, every step of the quilting process provides an opportunity for self-expression and exploration.
Through quilting, you can create something beautiful and unique that reflects your own personal style and vision. The possibilities are endless, and the satisfaction that comes from creating a finished quilt is truly rewarding.
Not only does quilting provide a creative outlet, but it can also be a relaxing and meditative activity that helps reduce stress and promote mindfulness. It’s a great way to disconnect from technology and the fast-paced world around us and focus on something tangible and meaningful.
So if you’re looking for a new hobby or a way to express your creativity, give quilting a try. You may be surprised at what you can create with a few simple tools and your own imagination. Unlock your creativity with quilting, and enjoy the journey of creating something beautiful and unique.


